
Monday, June 13, 2011
Times are a changin'
I know its been over 2 months since I last posted on here. I've been having some crazy things happen. First I went in for surgery and was in recovery for 2 weeks. When I finally went back to work I was having pain and had to be hospitalized again. This time they took out my gallbladder. I'm finally on the mend and have been crafting up a storm. This weekend I went to Tri-Cities and visited some friends and had a blast. It was beautiful when I rolled into town on Friday. I left yesterday morning and came home to the dreary Oregon rain. I was not impressed. I just wanted to take a minute to let you all know I will be updating my blog within the next couple of weeks. I don't know how often I will be able to update since I've recently been accepted back to school to get my MBA in Healthcare Management. But I try to keep up as best I can!
Friday, April 1, 2011
The ABSOLUTE Best Chocolate Bundt Cake Ever!!!!

This is one of the most moist cakes I have ever made. I love Bundt cakes and when I say I love them it translates into I am obsessed with them! I am always trying to make up new ways to use my bundt pan. I also bought the stoneware mini fluted pan from Pampered Chef which makes me happy because then I can make mini bundts!!!!
Anyway back to the task at hand. This cake really reminds me of the double chocolate chip muffins at Costco which I love. So I thought sharing the recipe would be perfect to share.
Ingredients:
Directions
- Preheat oven to 350 degrees F (175 degrees C).
- In a large bowl, mix together the cake and pudding mixes, sour cream, oil, beaten eggs and water. Stir in the chocolate chips and pour batter into a well greased 12 cup bundt pan.
- Bake for 50 to 55 minutes, or until top is springy to the touch and a wooden toothpick inserted comes out clean. Cool cake thoroughly in pan at least an hour and a half before inverting onto a plate If desired, dust the cake with powdered sugar.
Coffee Filter Wreath

So with all the talk of Spring and coffee filters I couldn't help but try out a new type of wreath.

I started out with one of the smaller wooden wreaths I bought at DollarTree. I just started scrunching the coffee filters together and ended up with this. I wasn't sure if I would like it at first but I kept going because looks can be deceiving. These are just regular coffee filters.

So this is what the flowers looked like after they were scrunched up and before they were glued onto the wreath. Once I was done scrunching I put hot glue directly onto the wood of the wreath.

And before I knew it I had made it completely around the wreath! At first I couldn't figure out what to add to it to make it more WOW. And then I thought about the burned cork trivets I had made previously. I knew I had a fantastic idea. Since I love the German language I decided I wanted to use a German word that meant something and could help me with everything going on in my life. I came across glauben which translates into believe or faith.

I knew I couldn't just leave the writing without anything so I added a little flower and sunshine to it. Once I put that on I knew it needed something more still. So I made a couple of fabric flowers to spruce it up a bit.
I like the way it turned out and will go perfect in my room. I am definitely going to keep experimenting with coffee filter projects.
Oh and I planted a few Zinnia seeds and cannot wait for them to start sprouting!
HAPPY SPRING :)
Monday, March 28, 2011
Perfect Timing

So Brandi Jo, Laura, and I met up for our 2nd craft date yesterday.
This time we had decided to make fabric clocks.

I started out with an 8x10 blank canvas.

I had this cute fabric sitting around and I figured it would be perfect for my clock!
So I hot glued the fabric to the back of the canvas.

I liked it already before it had any numbers or the actual clock on it.

So I cute though the fabric and canvas with an exacto knife and slid the front part of the clock through.

I made sure the back of the clock was flush with the canvas before I put any screws on or anything.
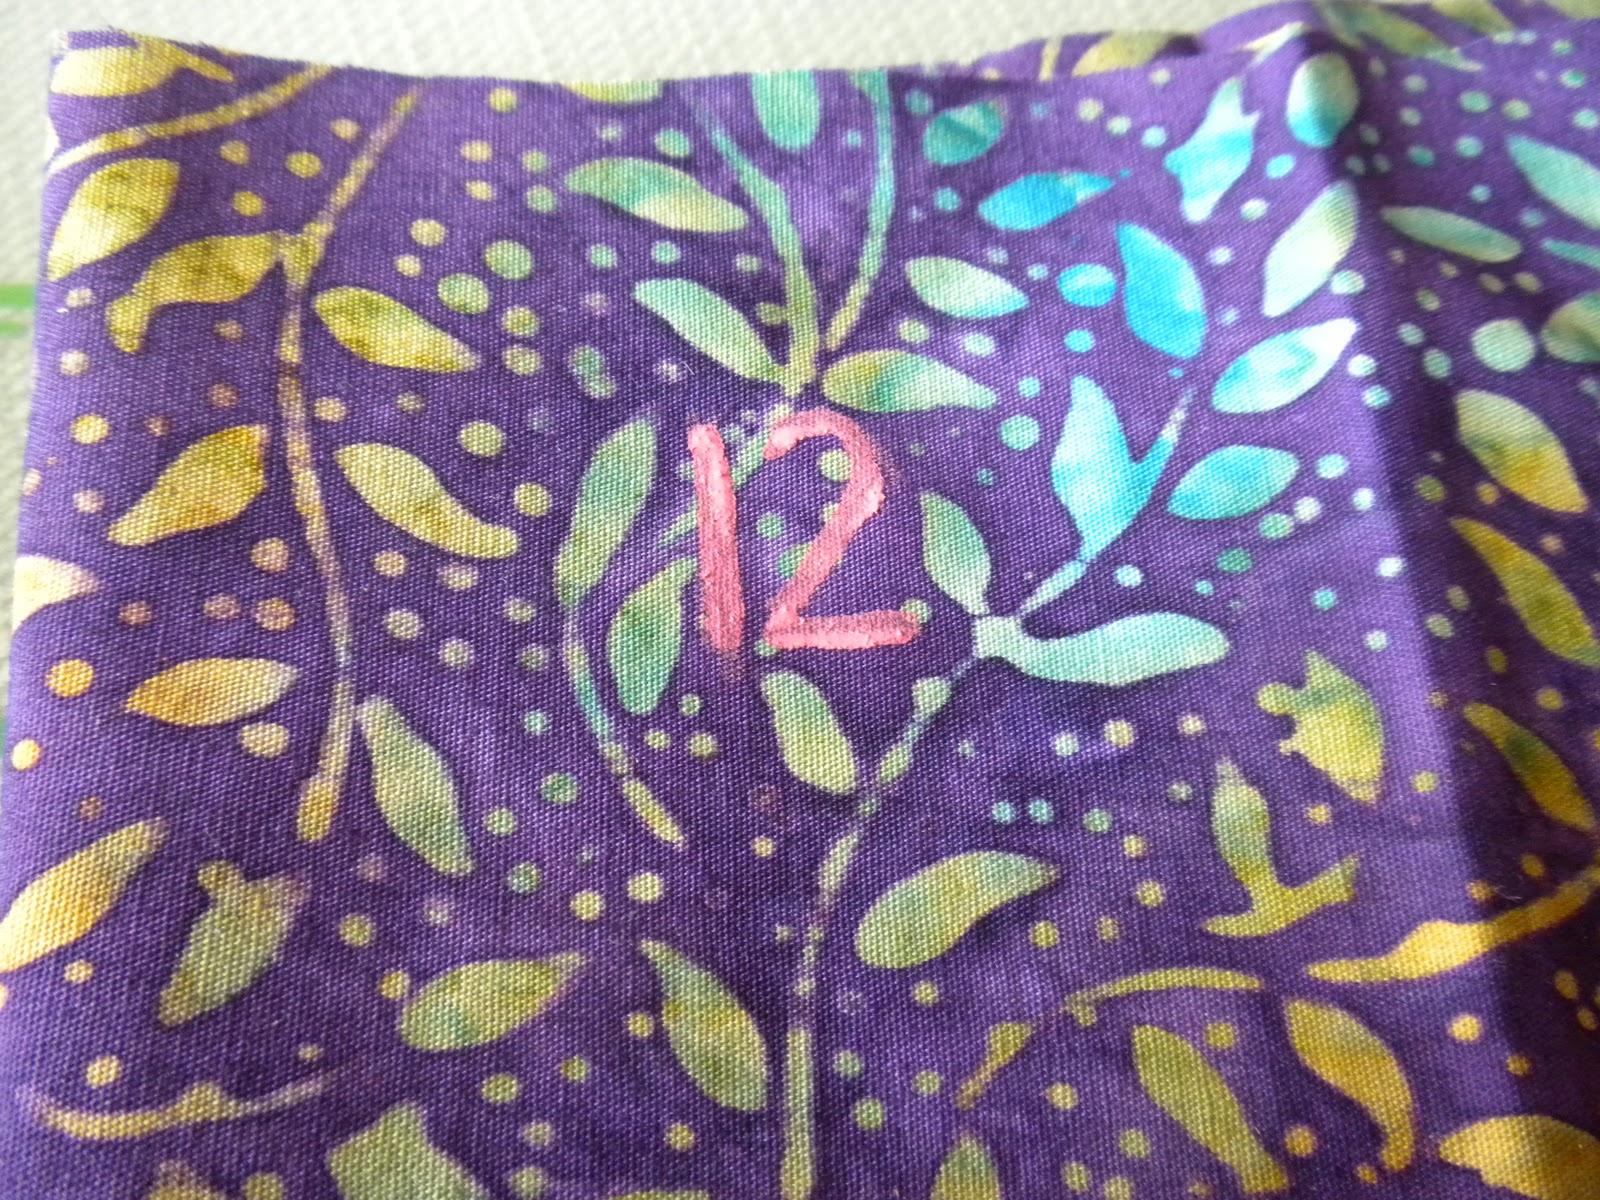
I knew that I needed to add numbers so I looked for a color that would stand out but not be too crazy. I found this pink that I thought would be perfect and went with it.

Brandi Jo had these cute stamps and I knew they would be perfect.

So I lined them all up where I wanted them to be.

I painted each of the stamps and stamped them onto the fabric. I then painted the numbers a little more once they got on the fabric to make them stand out.
Once the paint dried I mod podged over the top to give it a more finished look.
I absolutely love the end result. I hung it about my tv in the living room. The only thing I was worried about was it not keeping the correct time. I had to work with the screw that tightened it because if it was too tight both hands moved but if it wasn't tight enough the hands would move on right. So it took a little bit but I finally accomplished it!
Menu Board

While browsing through things to make for my kitchen I saw tons of ideas for menu boards. I had a wall that needed something on it. So when I found this idea I knew I needed to attempt it.
So I went to Benjamin Franklin Crafts and found everything I needed.....on sale even!
I used my Cricut to cut the vinyl letters and then freehanded the lines.
I love the way it turned out! It complimented the kitchen perfectly!
Cork Trivets Update

So I finally got around to taking a picture of how my cork trivets turned out. I was able to score this awesome placemat from DollarTree. Once I got the cork letters hot glued on I fell in love with it all over again.
I love the look of it and I couldn't be happier since I look at it everyday!
Spring Wreath

There are so many fun Spring projects out there that I decided since I love making wreaths that I would do one for Spring. I love the way it turned out.

I started out with a wood wreath I bought from DollarTree.

I was able to find this cute ribbon that really reminded me of Spring at DollarTree as well.

I started wrapping the ribbon around the wreath.

I loved the look of it even before it was completely done.

Once I was completely done with it I knew it needed something more than just the ribbon. I looked through my craft stuff to find something I thought would give it a little extra.

I came across this unfinished wood plaque. I painted it with some pink acrylic paint I had. I then glued the ribbon to it. I found these awesome colored glass pieces. I decided to use my Cricut to cut out the white vinyl then I stuck them to the glass pieces. I then hot glued the green glass pieces on top of the ribbon.
Then I hung it from my wreath with pink ribbon I had laying around.
I decided it still needed something more, so I whipped up a few quick fabric flowers.
And ta-da! I love how it turned out!
Subscribe to:
Posts (Atom)